Table of Contents
ToggleBuilding patio furniture from scratch isn’t just a weekend project, it’s a chance to get exactly what fits the space, budget, and style without settling for flimsy big-box options. A DIYer with basic carpentry skills can produce sturdy outdoor chairs, benches, and tables using common lumber, a few essential tools, and some weatherproof finish. The process teaches joinery fundamentals, sharpens measuring accuracy, and results in pieces that can last for years with minimal upkeep. This guide walks through selecting materials, cutting and assembling a patio chair, building a matching table or bench, and finishing the work to withstand sun, rain, and seasonal temperature swings.
Key Takeaways
- Building patio furniture saves 50–75% compared to retail alternatives, with a DIY Adirondack chair costing $40–$80 versus $150–$300 in stores and custom tables built for under $100 instead of $400+.
- Cedar, redwood, and pressure-treated lumber are ideal material choices, with cedar and redwood offering natural rot resistance while pressure-treated pine provides budget-friendly durability—avoid untreated softwoods that decay quickly outdoors.
- An Adirondack chair or simple farmhouse table are excellent first projects for DIYers with basic skills, requiring common tools like a circular saw, cordless drill, and orbital sander plus standard exterior fasteners and wood glue.
- Proper finishing with oil-based stains, exterior polyurethane, or exterior paint is essential—unfinished wood cracks and warps within a season, while the right finish can extend furniture life to 20+ years.
- Annual maintenance including cleaning, tightening fasteners, reapplying finish every 2–3 years, and prompt damage repair ensures DIY patio furniture remains structurally sound and attractive for decades.
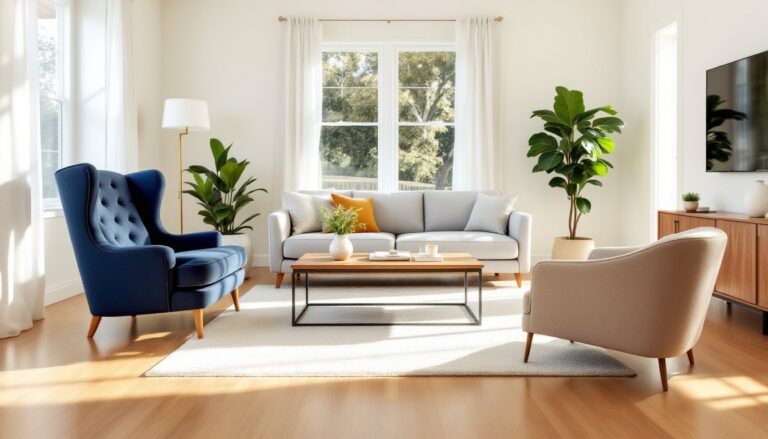
Why Build Your Own Patio Furniture?
Store-bought outdoor furniture often combines high price tags with questionable construction, particleboard cores wrapped in plastic wicker, or powder-coated steel frames that rust through after one winter. Building custom pieces gives full control over material quality, dimensions, and joinery strength.
Cost savings vary by lumber choice and design complexity, but a DIY Adirondack chair typically runs $40–$80 in materials versus $150–$300 retail. A six-foot farmhouse-style patio table can be built for under $100 using construction-grade framing lumber, while comparable commercial versions start around $400.
Custom sizing solves common layout problems. Narrow balconies, odd-shaped patios, and specific seating heights become easy to accommodate when cutting lumber to exact specs. Builders also pick joinery methods that suit their skill level, pocket screws for speed, mortise-and-tenon for heirloom quality, or simple butt joints reinforced with exterior wood glue and galvanized fasteners.
The build process itself develops practical skills: accurate crosscuts, drilling pilot holes to prevent splitting, understanding wood movement in outdoor conditions, and applying durable finishes. These fundamentals transfer to other projects like deck repairs, pergola construction, or custom shelving.
Essential Tools and Materials for DIY Patio Furniture
A basic outdoor furniture project requires tools most DIYers already own. A circular saw or miter saw handles crosscuts and angle work: a cordless drill drives screws and bores pilot holes: a sander (orbital or random-orbit) smooths rough edges and surfaces. A tape measure, speed square, and pencil manage layout. Safety gear includes eye protection, hearing protection for power tools, and a dust mask when sanding.
Optional but helpful: a Kreg jig for pocket-hole joinery, bar clamps for glue-ups, and a belt sander for rapid stock removal on larger surfaces. A table saw speeds rip cuts but isn’t essential, most projects use standard-width boards.
Fasteners and hardware should resist corrosion. Galvanized screws work for basic builds: stainless steel or coated exterior screws (like GRK or Spax) offer better longevity in humid or coastal climates. Exterior wood glue (like Titebond III) adds joint strength but must fully cure before exposure to moisture.
Choosing the Right Wood and Materials
Cedar and redwood are classic choices for outdoor furniture, naturally rot-resistant, lightweight, and easy to work. Western red cedar costs $3–$6 per board foot and weathers to a silver-gray patina unless sealed. Redwood runs higher but offers superior durability in ground-contact or constantly wet conditions.
Pressure-treated pine (PT lumber) is the budget option at $1–$2 per board foot. It resists rot and insects but requires time to dry before finishing, wet PT won’t accept stain evenly. Always use ACQ or CA-B treated lumber rated for above-ground use: older CCA-treated wood contains arsenic and shouldn’t be used for furniture.
White oak and teak represent premium hardwood options. White oak has natural rot resistance and can be left unfinished to weather gracefully. Teak’s high oil content makes it nearly impervious to moisture but costs $15–$25 per board foot.
Avoid untreated pine or fir unless applying a robust sealer, these softer species decay quickly outdoors. If working with reclaimed lumber, inspect for hidden nails, check for rot with a screwdriver probe, and plane or sand surfaces heavily contaminated with old finish.
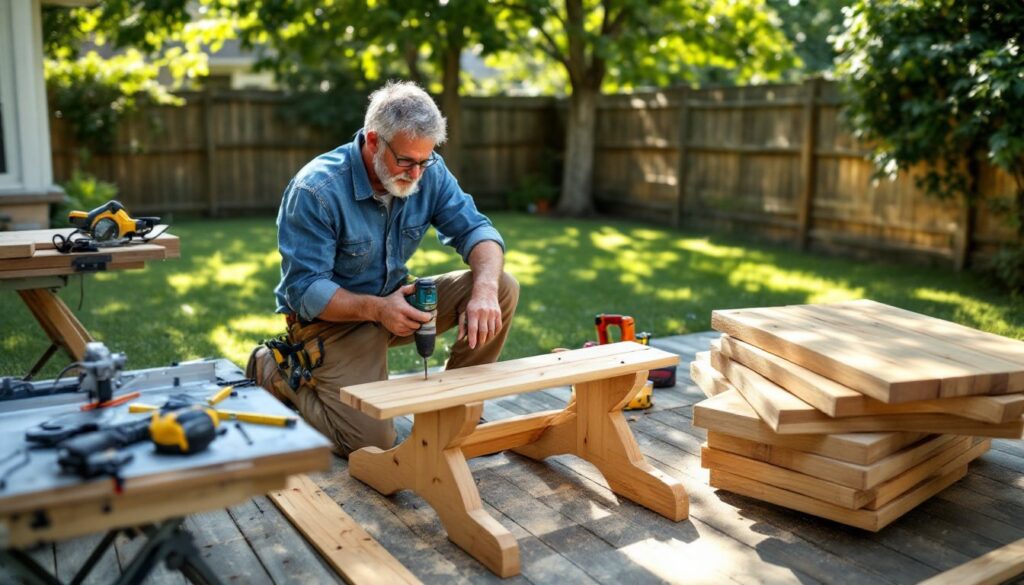
Step-by-Step Guide to Building a Patio Chair
An Adirondack-style chair makes an excellent first build, angled back, wide armrests, forgiving tolerances, and simple joinery. The design uses 1×4, 1×6, and 2×4 boards: a single chair requires about 20 board feet of lumber.
-
Cut the pieces. Start with the rear legs: rip a 2×6 into two tapered pieces, wide at the seat (about 3½ inches) and narrow at the top (2½ inches). Crosscut to 36 inches. Cut front legs from 2×4 stock at 22 inches. Seat slats come from five 1×4 boards at 20 inches: back slats need seven 1×4s ranging from 28 to 36 inches (creating the fan-back curve).
-
Assemble the frame. Attach front and rear legs with horizontal support rails cut from 1×4 at 20 inches. Use 2½-inch exterior screws, drilling pilot holes to prevent splitting near board ends. The seat frame should angle back about 10–15 degrees, this tilt makes the chair comfortable and sheds rainwater.
-
Attach seat slats. Space five 1×4 slats evenly across the frame with ¼-inch gaps for drainage and wood expansion. Screw down from the top into the support rails, two screws per joint.
-
Build the back. The signature fan-back uses progressively longer slats screwed to a curved top rail (cut from 1×6 and shaped with a jigsaw). Position slats with slight spacing and fasten to both the top rail and a lower cross brace. The back assembly mounts to the rear legs at roughly 105–110 degrees from the seat.
-
Add armrests. Cut wide armrests from 1×6 or 2×6 stock, about 28 inches long. Screw them to the tops of the front legs and midpoint of the rear legs, creating a comfortable overhang. Round the front corners with a jigsaw and sand smooth.
Sand all sharp edges and exposed end grain with 80-grit followed by 120-grit sandpaper before finishing.
Building a Simple Patio Table or Bench
A farmhouse-style outdoor table uses 2×4 framing for the base and 2×6 planks for the top, sturdy, straightforward, and sized to match DIY chairs.
For a 6-foot table:
-
Build the top. Arrange seven 2×6 boards (each 72 inches long) side-by-side. Secure them with three cross braces (2×4s cut to 36 inches) screwed perpendicular underneath. Space cross braces evenly, one at each end and one in the center. Use 3-inch exterior screws, two per plank per brace.
-
Construct the base. Build two H-shaped leg assemblies from 2×4s. Each leg stands 27–29 inches tall (for a standard 30-inch table height after adding the top thickness). Connect the legs with a central stretcher (a 2×4 running the table’s length) for lateral stability. Attach with screws or half-lap joints if using hand tools.
-
Attach base to top. Flip the tabletop upside down, center the base assembly, and screw through the cross braces into the leg frames.
For a bench:
Use the same approach but reduce the top width to 12 inches (two 2×6 planks) and shorten leg height to 16–18 inches for comfortable seating. Add angled leg braces if the bench will seat more than two people to prevent racking.
Both designs benefit from chamfering (beveling) the top edges with a sander or router to prevent splinters and soften the profile.
Finishing and Protecting Your Outdoor Furniture
Bare wood exposed to sun and rain will crack, warp, and turn gray within a season. Finishing isn’t optional, it determines whether furniture lasts two years or twenty.
Oil-based exterior stains penetrate wood fibers and add UV protection without forming a surface film that can peel. Semi-transparent stains show the wood grain: solid stains act more like thin paint. Apply with a brush or pad applicator, let soak for 10 minutes, then wipe off excess. Two coats provide adequate protection: reapply every 2–3 years.
Exterior polyurethane (spar urethane or marine varnish) creates a hard, glossy surface that blocks moisture. It requires more prep, sand to 220-grit and remove all dust before application. Three coats minimum, sanding lightly between coats with 320-grit paper. Varnish eventually cracks and peels in outdoor conditions, requiring stripping and refinishing every 3–5 years.
Penetrating oils like tung oil or linseed oil bring out wood grain and are easy to touch up, but they don’t block UV well. Best for hardwoods like teak or white oak that already resist rot. Reapply every season.
Paint works on any species and offers maximum color options. Use exterior acrylic latex formulated for wood. Prime with an oil-based exterior primer first, especially on cedar or redwood (which can bleed tannins through water-based primers). Two coats of paint over primer typically last 4–6 years before needing a refresh.
Always apply finish to dry wood. Pressure-treated lumber should dry for 4–6 weeks post-purchase before staining. Check moisture content with a moisture meter if available, target below 15% for best finish adhesion.
Maintenance Tips to Keep Your DIY Furniture Looking Great
Routine care extends furniture life and keeps it looking intentional rather than neglected.
Clean annually with mild soap and water, scrubbing away dirt, pollen, and mildew. A deck brush and garden hose work fine: avoid pressure washers, which can damage wood fibers and strip finish.
Tighten fasteners each spring. Outdoor humidity cycles cause wood to expand and contract, gradually loosening screws. A quick pass with a drill or screwdriver prevents joints from wobbling.
Reapply finish as needed. Oil-based stains typically need renewal every 2–3 years: unfinished wood benefits from annual oiling. Watch for finish failure, peeling varnish, faded stain, or water beading less effectively all signal it’s time to refresh.
Store or cover during harsh winters if possible. Furniture left uncovered in snow and ice will deteriorate faster, especially pieces built from softer woods or those with film finishes. Simple tarps work, but breathable covers prevent trapped condensation.
Address damage promptly. Small cracks can be filled with exterior wood filler: deeper splits may need reinforcement with waterproof glue and clamps. Sand and refinish repaired areas to blend.
With proper finish and seasonal attention, DIY patio furniture built from quality lumber can outlast most store-bought alternatives, and when it eventually does need repair, the builder already knows exactly how it’s put together.